Halftone Shader
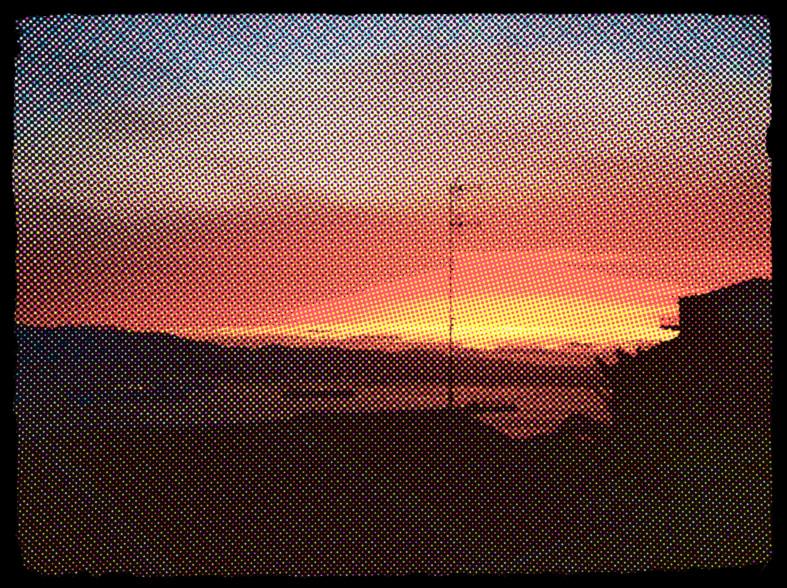
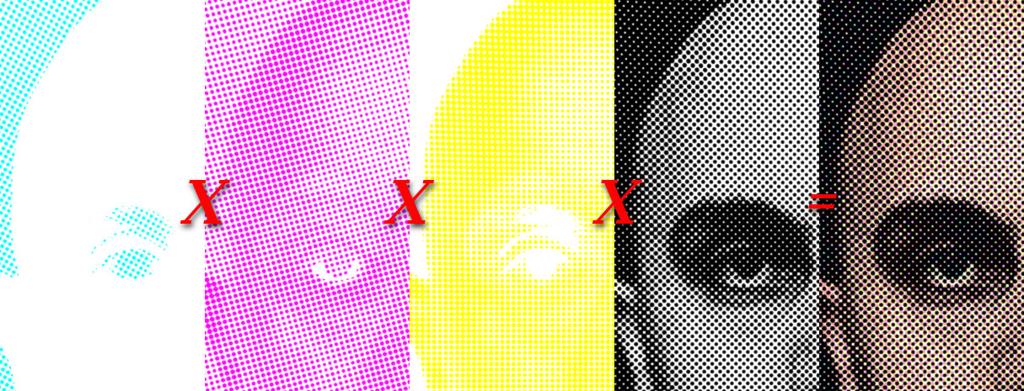
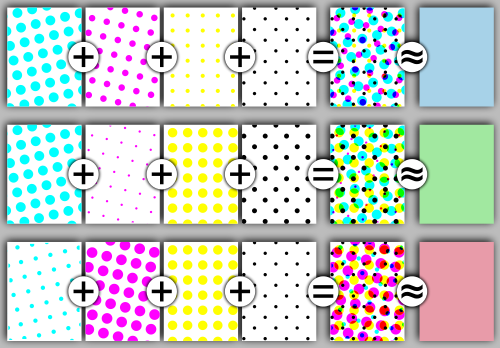
Just want the blend? Skip to the end. This is something I made for work recently and have since been playing around with. It’s pretty fun, so I thought I’d share it with you. It started life as a node setup for rendering images or video as a halftone pattern, similar to how images in a newspaper look when viewed close up. It was an interesting challenge as it required mimicking the CMYK colours used in traditional printing. To do this the input image has to be converted to CMYK values, and then further manipulated to create the halftone pattern. A halftone pattern basically uses small dots of fixed colours (in this case cyan, magenta, yellow, and black) and varying sizes to create the illusion of smooth colours. The image below shows a halftone pattern close up (from wikipedia).
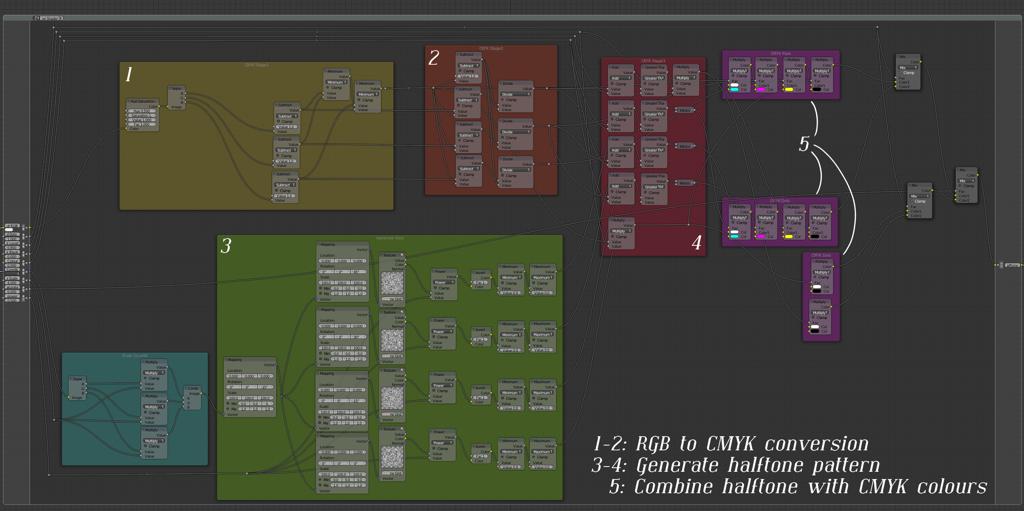
The eventual node group I created to mimic the effect looks like this (click to view full):
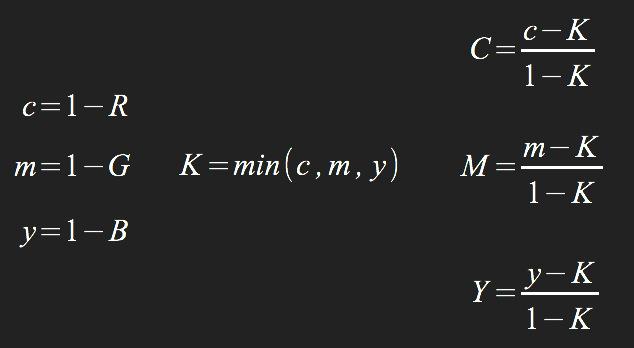
It a bit of a birds nest, but it works pretty simply overall. The CMYK colour conversion uses the following formula:
Here R, G and B are the RGB values, C, M, Y, and K are the CMYK values, and c, m, and y are some intermediate values that make the stages in converting between the two a little clearer. The tangle of nodes labeled 1 and 2 in the image above are just applying these formulae with a bunch of math nodes. (It’s worth noting here that this isn’t the most accurate conversion in the world, there’s no fancy colour management going on here, but it’s sufficient for creating a cool retro looking shader.) The lower half of the node setup then creates a set of four halftone patterns, each at slightly different orientations so that they don’t overlap. This is done simply by tiling the image below a whole bunch (you’ll notice it isn’t a dot but a gradient, I’ll explain why below). The dot starts as a linear spherical gradient that I created in GIMP, but I manipulate it a bit by taking the square root of the value (the Power node in part 3 of the node setup). This is because we want the area of the halftone dots (and thus the amount of “ink”) to be proportional to the value of the input, and because area is proportional to radius squared, the value of the gradient should be proportional to the square root of the distance from the centre. I also invert the result, otherwise we’d get dot’s with no ink on an inky background, rather than the opposite.
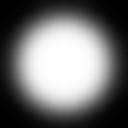
Then to generate dots of the correct size, I use math nodes with the Greater Than operation to compare the value of the dot gradients pattern with the CMYK values. Thus where the input value is greater the node outputs a larger dot, because the input stays greater than the dot value for longer. This yeilds the dot pattern for each colour individually. Then I just multiply each of these together to yield the final CMYK composite.
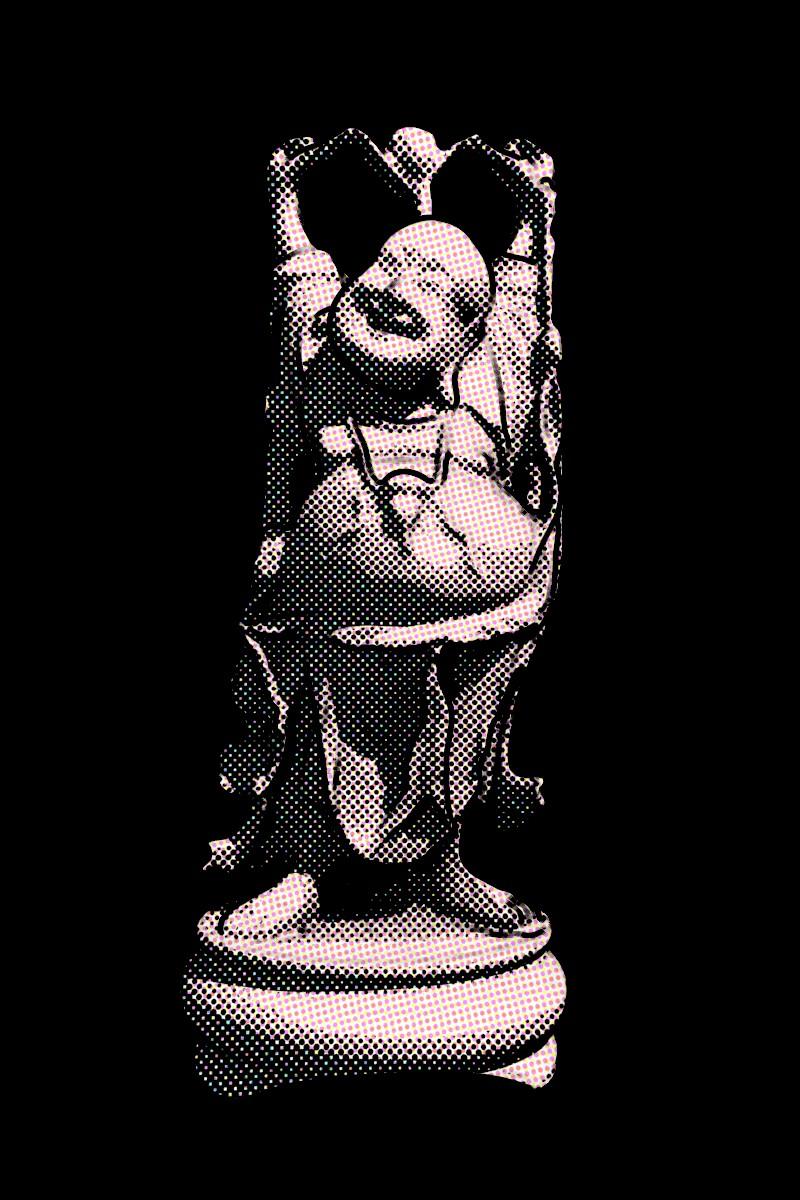
That basically covers the node setup. The node group itself then just takes a colour input for the texture to be converted, and a vector input for the texture coordinates to apply the dots to, plus some extra values that I can use to tweak the result, for example to slightly adjust the dot size or the amount of saturation in the output. I can then use this node setup in all sorts of different materials. I actually created two different node groups with pretty much the same layout, one for cycles and one for blender internal. The main use of these is obviously in creating fake halftone images as originally intended: just use a shadeless material with the the texture to be converted as the input, and the output is the halftoned version of the image, as seen above. One cool thing you can do with Blender Internal (that I don’t think is possible with cycles) is to use the shading of a material as the input for the halftone node group. This will then convert rendered shadows into an NPR style halftone shader (shown below on the happy buddha from the Stanford 3D scan repository, with a little edge rendering over the top).
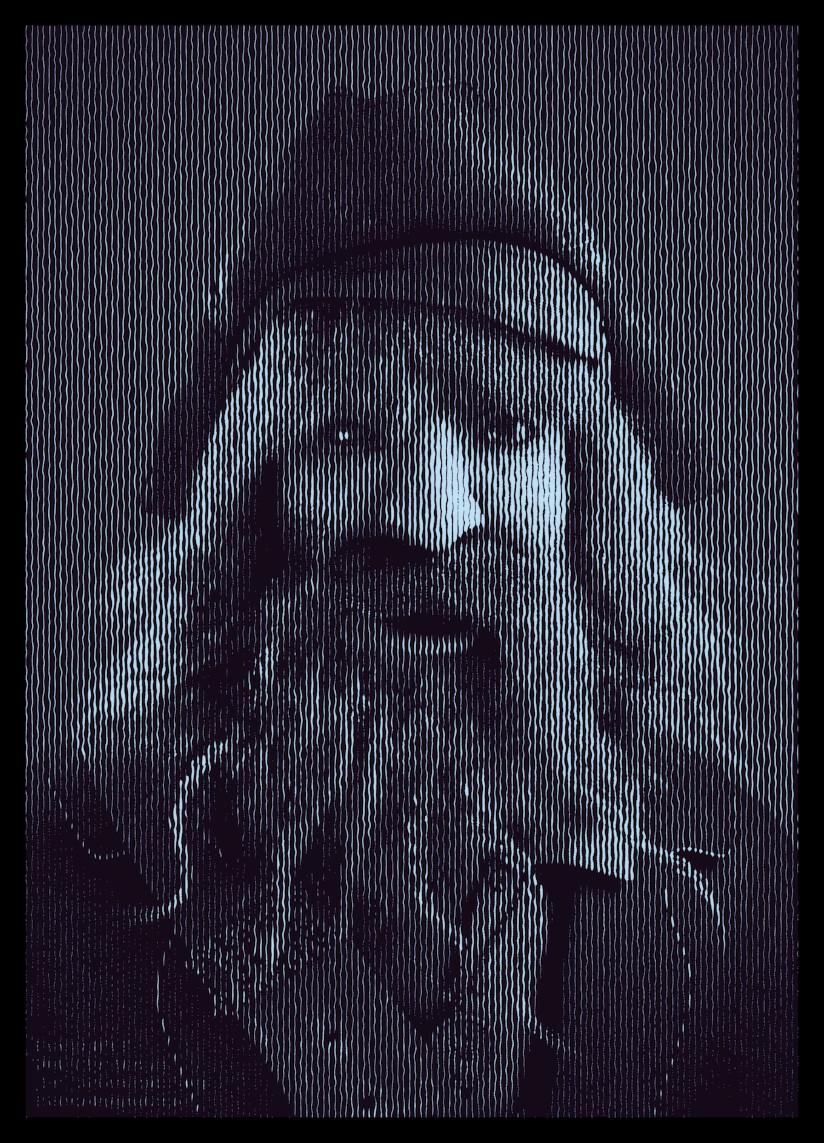
It’s also fun to play around with the input for the halftone texture. Whilst a gradient yeilds the classic halftone dots, you can create some cool effects using different textures. Here’s an my pirate captain character from a few years ago, using a Band Noise Wood texture as the halftone texture (click to view ful size).
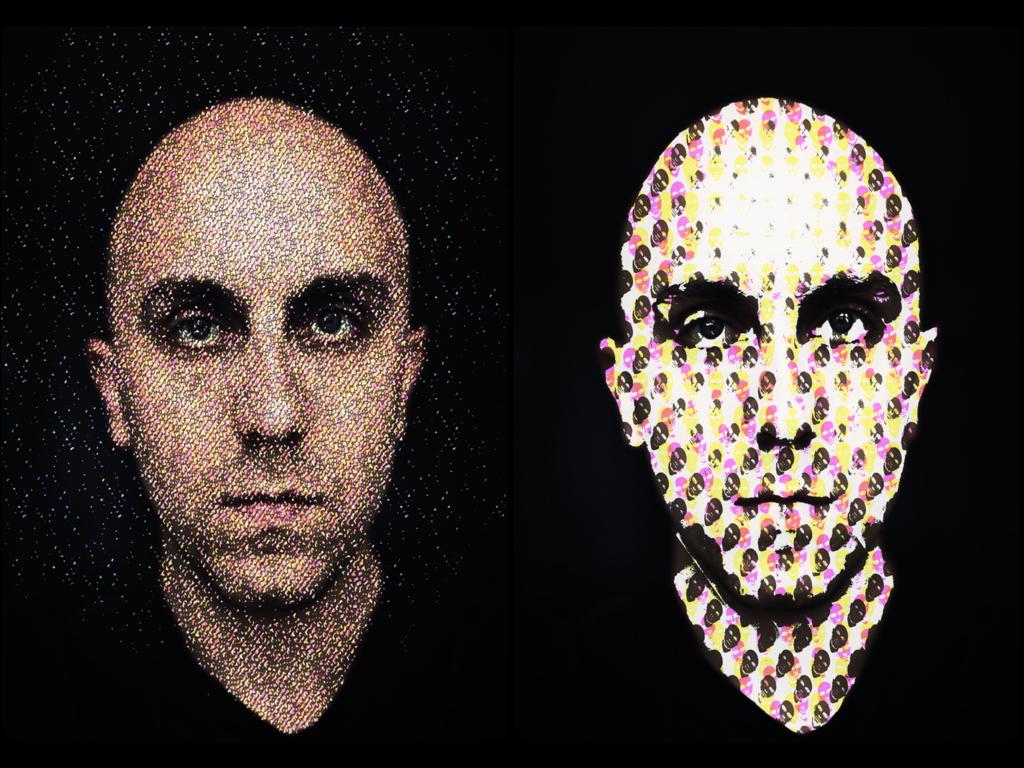
Here is a photo by photographer vonderauvisuals on flickr (CC-BY) that I experimented with some other textures on. In the first I used a bunch of numbers slightly blurred out. For the second I used the image itself as the halftone pattern, giving a pretty cool recursive result (again, view full size for best experience). You’ll notice on the latter that you actually get some of the detail of the original image showing through. It isn’t apparent with the dots (which aren’t actually perfect dots but are a bit wobbly) but the node setup doesn’t really scale the input pattern up or down, it just does a sort of threshold operation.
Anyway, you can download the blend and mess around with it for yourself. let me know if you make anything cool! Halftone Shader on Blendswap
Comments
Cosi (Apr 15, 2013)
WoW! Some days ago I looked for a filter like this for After Effects, without finding anything free or working. I’m amazed now to find it now and being so f****ng cool. Thanks a lot, Ben.
Tobiasz Unfa Karoń (Oct 24, 2014)
I’m blown away by your creativity and ideas!
This is a great artistic tool to have around.
Yoana España Urresty (Mar 08, 2019)
Download the shader
But it doesn´t work when I add it to another object, do you have any tutorials?
cmyk, halftone, node groups, node setup, print, resources, retro, shader, technical, tutorials — Feb 14, 2013
