
Rocky
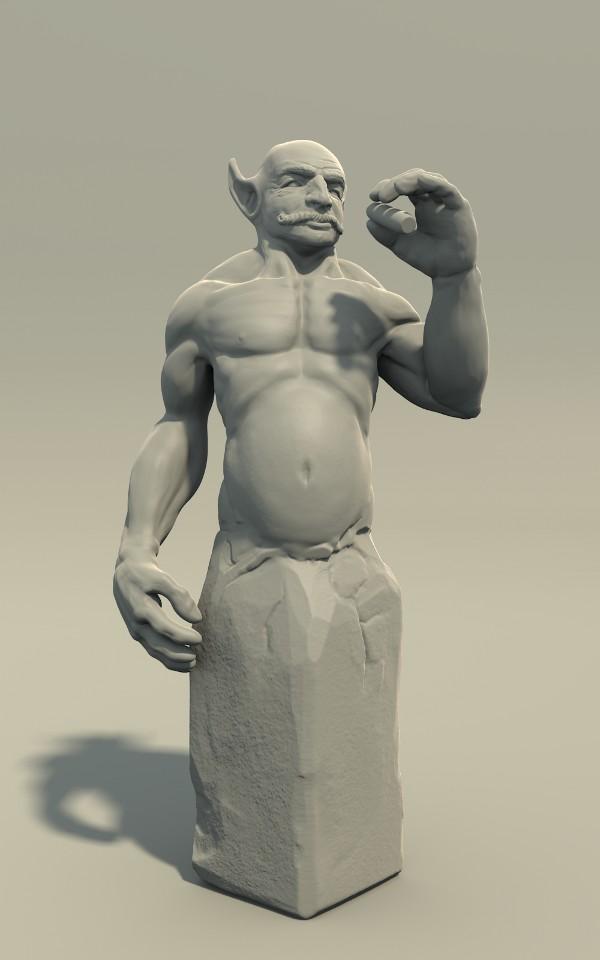
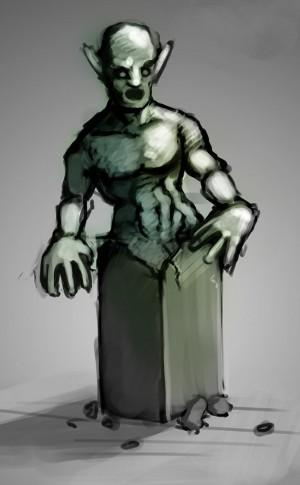
It seemed a fitting name for him. This was a project I worked on just for fun, that I recorded as a timelapse. I thought I’d put together a post here as well with some supplementary information. Here is the timelapse video to get things rolling: [vimeo vimeo.com/15803468] The idea started as a quick (i.e. 10 to 20 minutes) sketch in GIMP. Nothing fancy, as the sculpt was to be the final product, but enough to get rid of the guesswork when building the mesh:
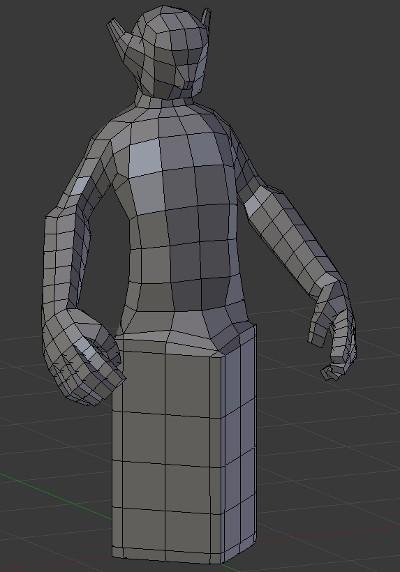
Then I constructed a really basic basemesh just from simple cubes (see the screencast video) using the concept as a guide. I modelled this in blender 2.49, as some of the tools that I frequently use such as skinning edgeloops and bevelling individual edges in edit mode are not yet properly implemented in blender 2.5.
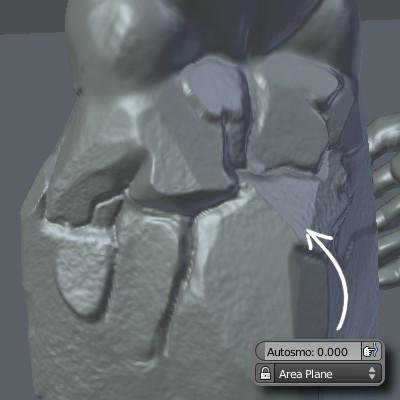
Once I had my base mesh I imported the mesh into blender 2.5 (by appending it into a fresh blend file rather than opening the 2.49 file in 2.5, to avoid messing up the settings and losing the default sculpt brushes). Then I got to sculpting, mainly using the clay brush, as well as the scrape brush to reign in the areas where I added too much mass. The scrape brush is invaluable for this, and much better than the smooth brush for smoothing out the shapes in a mesh, as it keeps the planes nicely and gives more control over the flow of the forms. I also used the scrape and fill brushes with the area plane set to locked to do the faceted parts of the stone base:
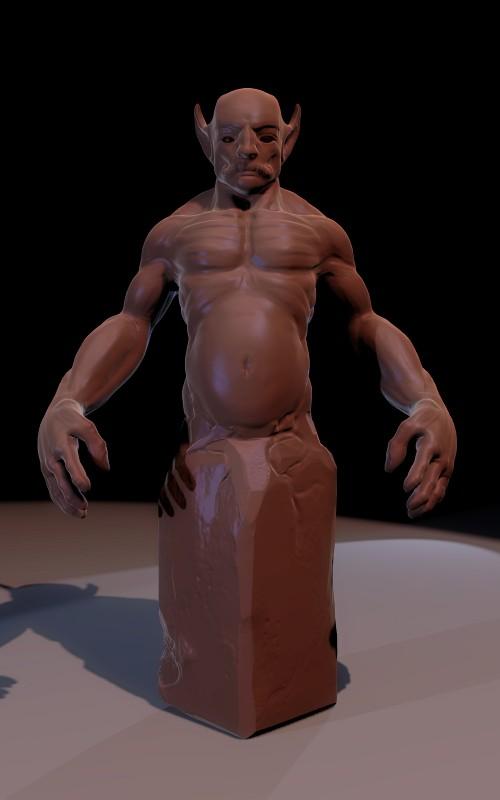
Here is what the model looked like at the end of the timelapse:
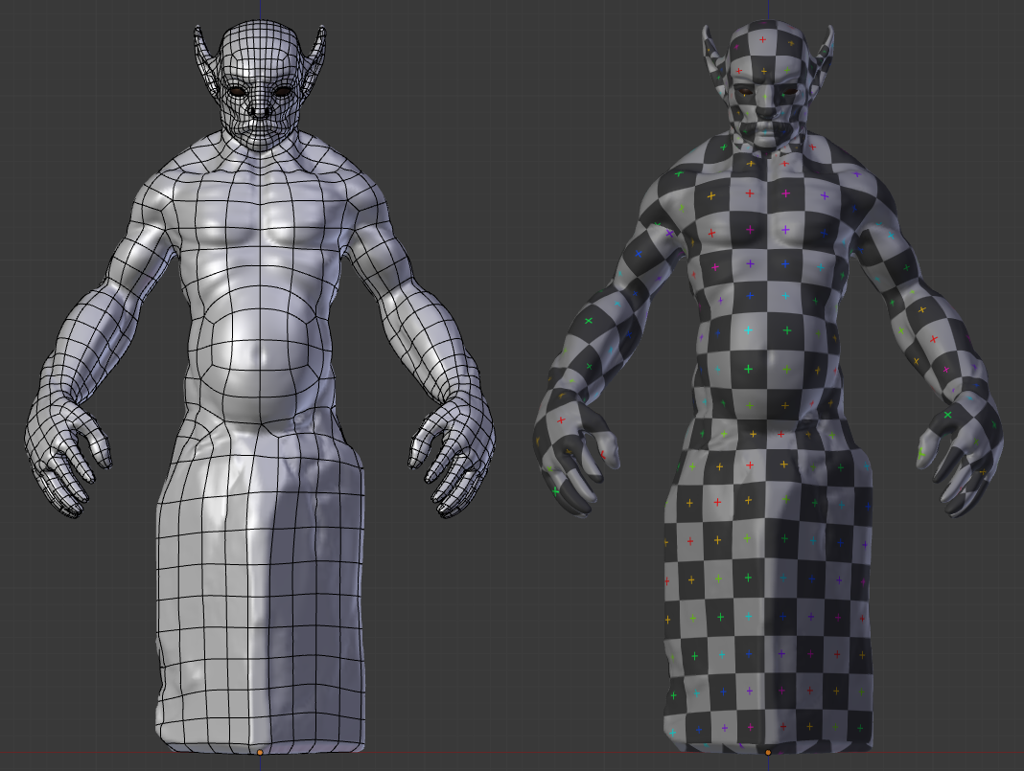
After taking the initial sculpt to the limits of what the topology could handle I applied the multires at level 4 (around 300k polygons -enough to capture most of the large details, but simple enough to work with nice and quickly as a retopology target) and imported the mesh back into blender 2.49 and retopologised the mesh, unwrapped the new model, then brought it back into 2.5 and used a shrinkwrap modifier to transfer the details. Some areas didn’t transfer well, such as the fingers, eyes and nose where I had added more complex topology, so I used a vertex group to stop the shrinkwrap modifier from affecting these areas, and just re-sculpted them after I applied the modifier.
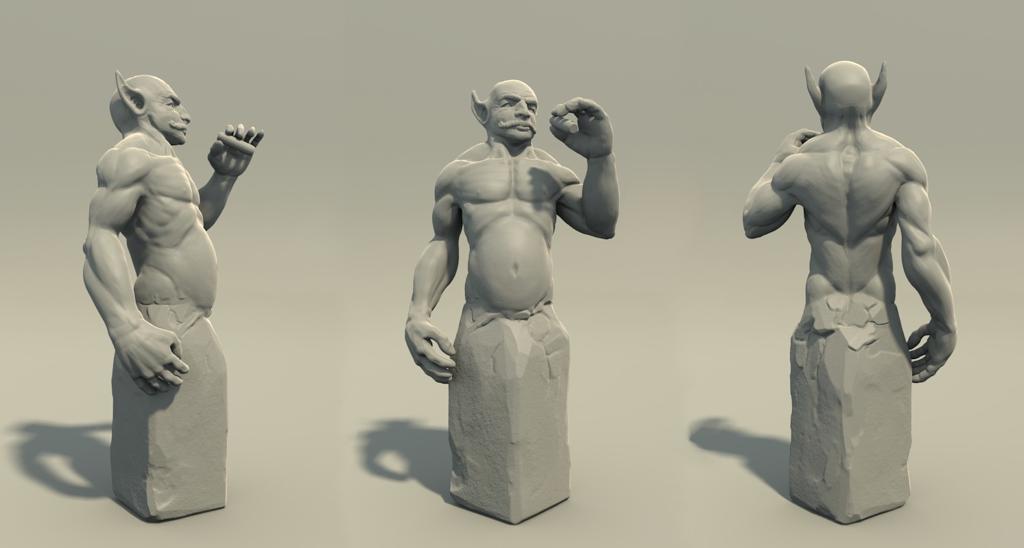
Then in edit mode, I posed the mesh into the final pose (a bit of proportional editing combined with rotating around the 3D cursor makes this relatively simple) and did some more sculpting. I’m not sure I’m 100% finished with it yet, but I’m happy with how he looks:
Comments
Jan (Nov 06, 2010)
Amazing result! Like this tool.
ArchoX (Oct 15, 2010)
Awesome work :)
sreenivas (Oct 15, 2010)
its awesome. I love the concept and the pose.
iKlsR (Oct 15, 2010)
that looks fantastic… well done!
blender, character, quick projects, scupt, time-lapse, timelapse, tutorial, tutorials, video — Oct 14, 2010